Engine Break-In 101: The Right Way to Start Your New Motor
Breaking in a new engine is essential for ensuring optimal performance and longevity. Whether you’ve just installed a fresh crate engine or rebuilt your existing powerplant, taking the time to do it right will pay dividends in reliability and horsepower. In this guide, we’ll explore the fundamentals of engine break-in and walk you through the key steps to guarantee a smooth start for your new motor.
Table of Contents
- Why Proper Engine Break-In Matters
- Pre-Break-In Checklist
- Initial Fire-Up and Idle
- Varying RPM and Light Driving
- Oil and Filter Change
- Common Break-In Mistakes to Avoid
- Conclusion
Why Proper Engine Break-In Matters
During the first critical hours of operation, piston rings seat against cylinder walls, camshaft lobes wear into matching lifters, and bearings adapt to the rotation of the crankshaft. Without a correct break-in procedure, you risk:
- Reduced horsepower and torque
- Excessive oil consumption
- Premature wear or damage
- Potential engine failure
By following a structured break-in process, you create the best environment for these moving parts to “marry” together, ensuring maximum performance and life expectancy.
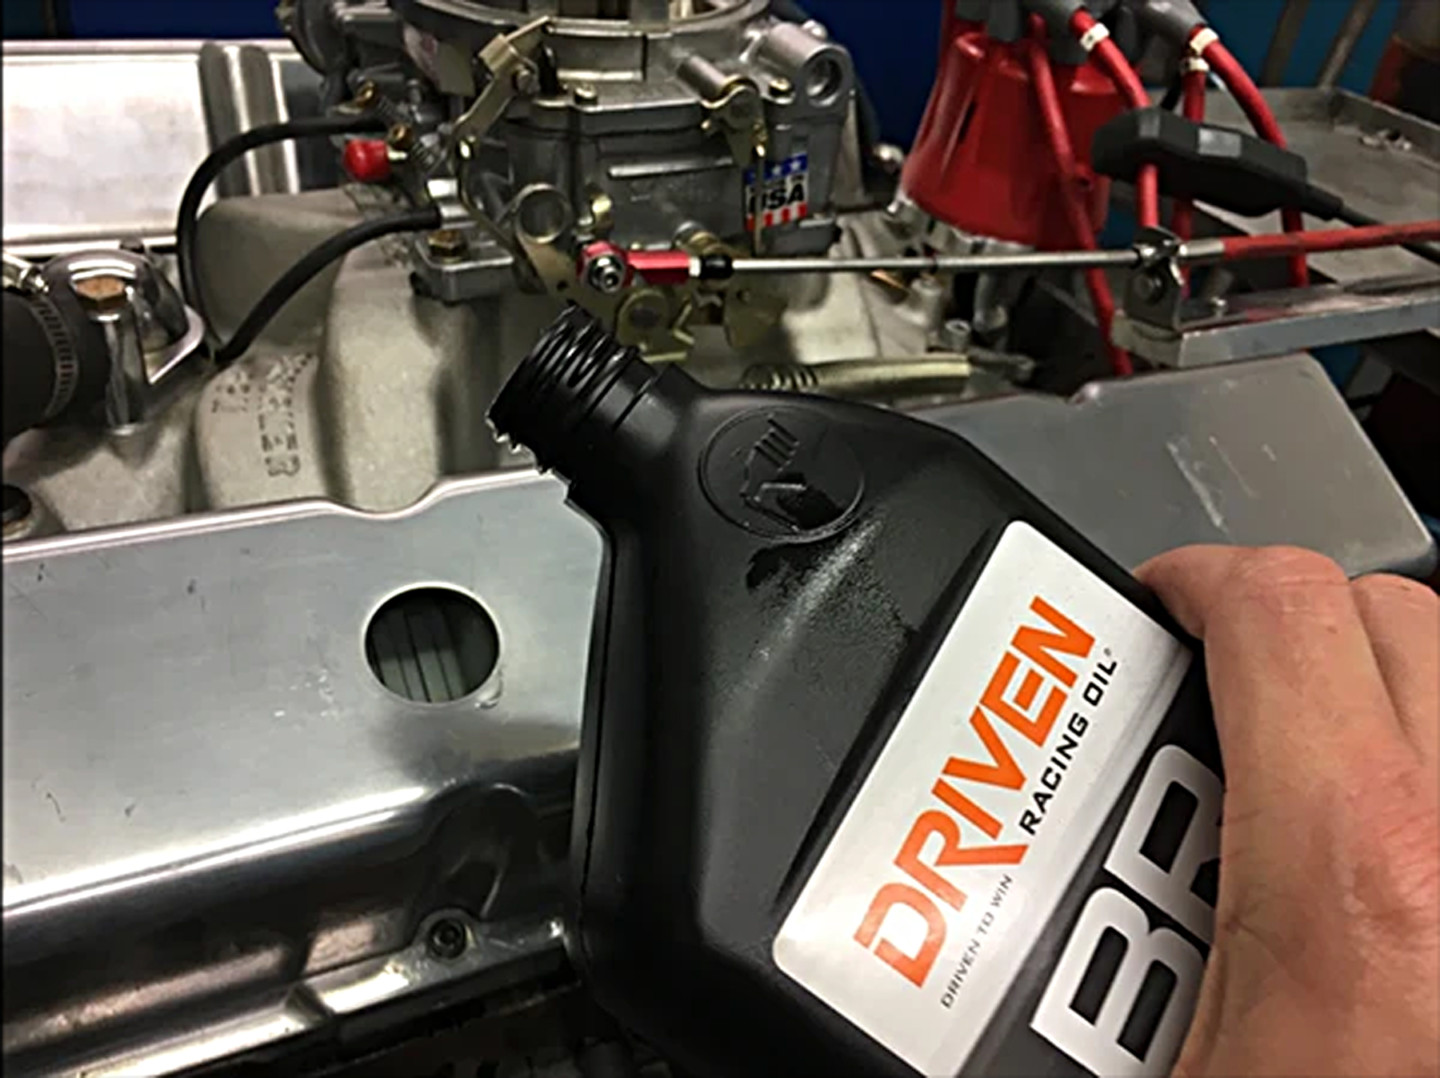
The days of using any motor oil during break-in are gone. Now, a dedicated break-in oil should always be used in a new engine.
Pre-Break-In Checklist
Before you even fire up the engine, make sure these items are in order:
- Correct Oil and Filter
- Use break-in oil or a high-zinc conventional oil recommended by the engine builder.
- Proper Coolant Mixture
- Fill your radiator with the right coolant and distilled water ratio to prevent overheating.
- Timing and Fuel Settings
- Double-check ignition timing and fuel delivery to ensure a smooth start and avoid lean conditions.
- Check All Fluid Levels
- Transmission, power steering, brake fluid—keep your whole system in top shape.
- Safety Precautions
- Have a fire extinguisher on hand, ensure good ventilation, and wear safety gear.
Pro Tip: Keep a torque wrench nearby to confirm that critical fasteners (like intake manifold bolts or head bolts) are set to the manufacturer’s specifications.
Initial Fire-Up and Idle
- Prime the Engine Oil System
- If possible, use an oil primer tool to pressurize the oil passages before starting.
- Start the Engine and Maintain 2,000–2,500 RPM
- Run the engine at 2,000–2,500 RPM for 15–20 minutes to break in the camshaft and lifters (especially crucial for flat-tappet cams).
- Keep an eye on your coolant temperature and oil pressure gauges.
- Inspect for Leaks
- Check all connections for coolant or oil leaks. Shut down immediately if something seems off.
Safety Note: Never leave the engine unattended during this initial break-in period. Monitor gauges constantly.
Varying RPM and Light Driving
After the initial run-in period:
- Vary Engine Speed
- Take the vehicle for a series of short drives, keeping RPM between 1,500 and 4,000.
- Avoid long periods of steady RPM—this helps the rings seat properly.
- Gradual Throttle Input
- Resist the urge to go wide open throttle. Instead, accelerate smoothly to moderate RPM, then let off the throttle to allow engine braking.
- Monitor Temperatures
- Keep an eye on coolant temp and oil pressure. If anything spikes, shut down and troubleshoot.
Additional Tip: Light load engine braking helps vacuum pull oil up around the piston rings, assisting them to seat against the cylinder walls.
Oil and Filter Change
After about 500 miles or the time frame recommended by your engine builder:
- Drain the Break-In Oil
- Inspect for metal particles or excessive debris. A small amount of metallic sheen is normal, but large flakes can indicate a problem.
- Replace the Oil Filter
- Use a quality filter that meets or exceeds OE specifications.
- Refill with Fresh Oil
- Switch to a conventional or synthetic oil recommended for long-term use.
- Inspect Components
- Check spark plugs, belts, hoses, and other engine components during this service.
Common Break-In Mistakes to Avoid
- Using Synthetic Oil Too Soon: Most engine builders recommend waiting until the rings have fully seated before switching to synthetic.
- Overheating: Failing to monitor coolant temps can lead to warped heads or other damage.
- Ignoring Manufacturer Guidance: Every engine has different demands—follow your builder’s specific instructions.
- Constant Low RPM Idling: The engine needs enough RPM to splash oil on the cam lobes and properly lubricate all moving parts.
Conclusion
A meticulous break-in process lays the groundwork for a reliable and powerful engine. By following the steps outlined here—careful preparation, proper initial fire-up, varied RPM during light driving, an early oil change, and avoiding common mistakes—you’ll maximize horsepower, longevity, and overall performance.
Further Reading & Resources
- Crate Engine Installation Checklist
- Crate Engine Maintenance Tips for Longevity
- Performance Upgrades for Your New Engine
Ready to take the next step? Explore our Engine Upgrade Blog for more articles on tuning, exhaust systems, and forced induction to make the most of your freshly broken-in motor.
Engine Break-In 101 is your ticket to a smooth, long-lasting powerplant. Invest in the process upfront, and your engine will reward you with miles of high-performance driving down the road!






LEAVE A COMMENT